How to Fix Slow WiFi on iPhone
Your iPhone says it's connected to WiFi, but everything loads at a crawl. Pages time out, videos buffer endlessly, and video calls keep freezing. Before you blame your ISP, there are several things you can diagnose and fix yourself. Here's a systematic approach to finding and solving the problem.
Ask the App Why It Is Slow
The eight steps below are the full version, and they are worth knowing. But most of the time the first three of them are one question, so start there.
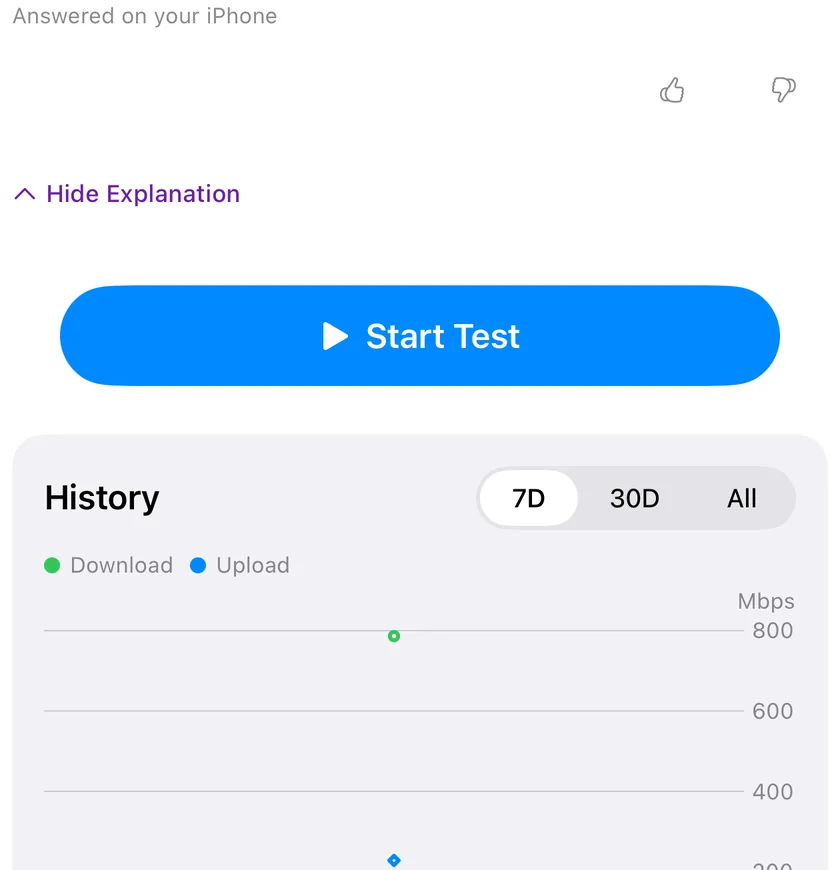
In PingKit 3.0 you can ask the assistant why the internet is slow. It reads what the app already knows about the network you are on, and where a measurement would answer the question it offers to run one: a speed test, a ping to your router, a ping out to the internet, or the full six-step diagnostic. Nothing runs until you tap to allow it.
That six-step run, Smart Diagnostics, is the fastest way to localise a slowdown, because it tests the chain in order and stops being vague about which link failed:
- Network Interface. Are you actually on a network with an address.
- Gateway Connectivity. Can the phone reach your own router, and how quickly.
- Internet Connectivity. Can it reach the internet past the router.
- DNS Resolution. How long names take to resolve, which is the cause people never guess.
- Web Connectivity. Does an ordinary HTTPS request complete.
- Connection Speed. What the connection is actually delivering.
A high number at step 2 and a low one at step 3 is a Wi-Fi problem. Low at step 2 and high at step 3 is the connection or the ISP. Slow at step 4 with everything else healthy is DNS, and no amount of moving the router will help.
Under most tool results, Explain This Result turns the numbers into a sentence about what they mean. It is a button rather than something that fires on its own, and on an iPhone where Apple Intelligence is available the answer is written on the device.
Compared With Normal, if you have Guardian
The hardest question about a slow network is "slow compared with what". PingKit answers it by learning what each network you use normally does and then comparing a result against that network's own median rather than against a general benchmark. Four things are compared: router latency, internet latency, DNS resolution time and download speed. It needs five previous runs on that network before it has a median to compare against, and it is part of the Guardian subscription.
Two things it does not compare, so that the section is not read as claiming more: jitter and packet loss. Those are charted over time in the Guardian trends card instead. Jitter is measured by Live Connection and by the Health Report on the Home tab; the diagnostic itself does not compare it.
If the assistant and the diagnostic have not settled it, work down the eight steps.
Step 1: Confirm It's Actually Slow
Before troubleshooting, establish a baseline. Run a speed test to see what you're actually getting versus what your ISP plan promises. Open PingKit, tap Speed Test, and note your download speed, upload speed, and latency.
- If you're getting close to your plan speed, the issue might be with a specific app or service, not your WiFi
- If speeds are significantly below your plan (say, 20 Mbps on a 200 Mbps plan), keep reading
- If speeds are fine on WiFi but slow on one device, the problem is device-specific
Quick check: Run a speed test standing next to your router, then run another from where you normally use your phone. If there's a big difference, signal strength is the issue.
Step 2: Check Your Signal Strength
The channel and the band are withheld from apps in the same way, so PingKit's WiFi analysis tools for iPhone measure the link instead: live latency and packet loss, download and upload speed from wherever you are standing, and a list of the devices sharing the network.
WiFi performance drops dramatically with distance and obstacles. A single wall can cut your speed in half. Two or three walls and you might be getting a fraction of your router's capability.
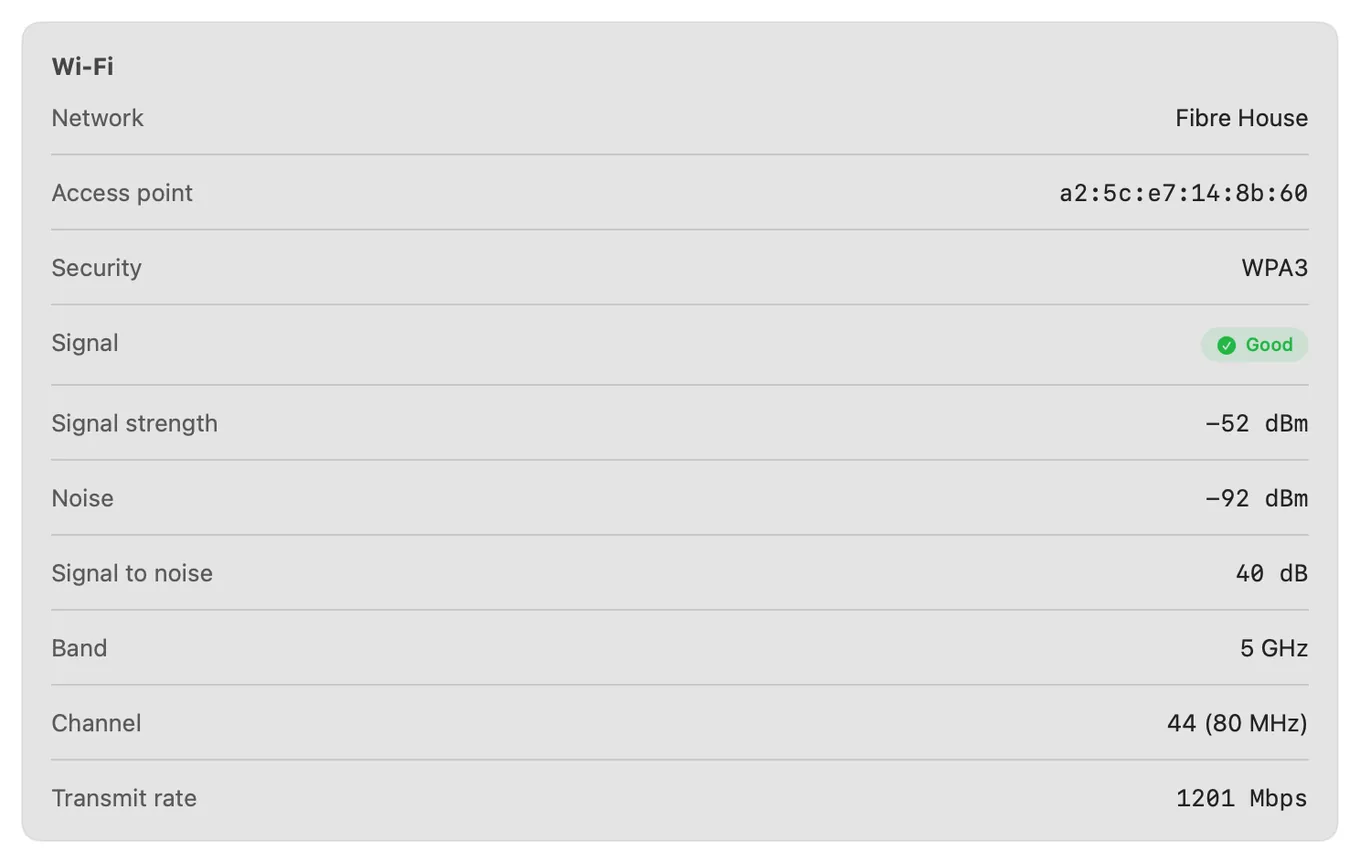
Point PingKit's Connection Monitor at your router's address and watch the local hop. If latency is erratic or packets are dropping before your traffic even leaves the house, you're likely too far from the router or there's too much interference. iOS does not expose signal strength to any third-party app, so measuring the link beats reading a bar. As a rough reference, that corresponds to roughly -70 dBm or weaker.
How to improve signal strength:
- Move your router to a central location - corners and closets are the worst spots
- Elevate the router - placing it on a shelf or mounting it on a wall improves coverage
- Remove obstacles - fish tanks, mirrors, and concrete walls are particularly bad for WiFi
- Consider a mesh system - if your home is large or has thick walls, a single router won't cut it
Step 3: Switch WiFi Bands
Modern routers broadcast on two frequencies:
- 2.4 GHz - Longer range but slower (max ~150 Mbps real-world). More prone to interference from microwaves, Bluetooth, and neighbours' networks
- 5 GHz - Shorter range but much faster (up to 800+ Mbps). Less interference because there are more channels available
If your router has separate network names for each band (e.g., "MyNetwork" and "MyNetwork_5G"), try connecting to the 5 GHz network when you're close to the router. Switch to 2.4 GHz only when you're far away and need range over speed.
Step 4: Check for Network Congestion
Too many devices competing for bandwidth is one of the most common causes of slow WiFi. Use PingKit's LAN Discovery tool to see every device connected to your network. You might be surprised how many there are - smart TVs, game consoles, security cameras, smart speakers, and phones all add up.
- Identify bandwidth hogs - streaming a 4K video uses about 25 Mbps per stream
- Check for unknown devices - if you see devices you don't recognise, someone might be on your network uninvited
- Stagger heavy usage - avoid running backups while streaming or during video calls
Step 5: Restart Your Router
It sounds simple, but restarting your router fixes more problems than you'd expect. Routers accumulate stale connection tables, memory leaks, and cached routing data over time. A restart clears all of this.
- Unplug your router from power
- Wait 30 seconds (this fully clears the memory)
- Plug it back in and wait 2-3 minutes for it to fully boot
- Run another speed test to compare
Pro tip: If restarting your router consistently fixes the problem but it keeps coming back, your router may need a firmware update or might be failing. Most routers should be replaced every 4-5 years.
Step 6: Check for Interference
WiFi channels are like lanes on a motorway. If your router and your neighbour's router are on the same channel, they interfere with each other and both slow down.
Most routers auto-select channels, but they don't always pick the best one. Log into your router's admin panel and try manually setting the channel:
- For 2.4 GHz: Use channels 1, 6, or 11 (the only non-overlapping channels)
- For 5 GHz: There are many more channels available, so interference is less common. Try channels in the DFS range (52-144) if your router supports them
Step 7: Reset iPhone Network Settings
If other devices on your WiFi work fine but your iPhone is slow, the problem might be on the phone itself. Corrupted network settings can cause persistent slowness.
- Go to Settings > General > Transfer or Reset iPhone
- Tap Reset > Reset Network Settings
- Enter your passcode and confirm
This resets all WiFi passwords, VPN settings, and cellular preferences. You'll need to reconnect to your WiFi network, but it often resolves stubborn connection issues.
Step 8: Check Your DNS
Slow DNS resolution makes every website feel sluggish, even if your raw speed is fine. Your router usually uses your ISP's DNS servers by default, and these aren't always the fastest.
Try switching to a faster DNS provider. You can use PingKit's Ping tool to test latency to different DNS servers and see which responds fastest from your location:
- Cloudflare: 1.1.1.1 and 1.0.0.1
- Google: 8.8.8.8 and 8.8.4.4
- Quad9: 9.9.9.9 (also blocks malware domains)
Change DNS on your iPhone in Settings > WiFi > tap your network > Configure DNS > Manual. For a network-wide fix, change it on your router instead.
When to Call Your ISP
If you've tried everything above and speeds are still well below what you're paying for, it's time to contact your ISP. Before you call, gather evidence:
- Run speed tests at different times of day and save the results
- Run PingKit's MTR to your ISP's gateway to check for packet loss on their network
- Note the specific speeds you're getting versus what your plan promises
Having this data turns a vague "my internet is slow" complaint into a specific, evidence-backed support request that's much more likely to get results.
Related Articles
- Why Your iPhone Personal Hotspot Is Slow
- How to Check WiFi Signal Strength
- What Is Packet Loss and How to Fix It
- How to Test Internet Speed on iPhone
- How to Diagnose Dorm & Campus WiFi Problems
- WiFi Analyzer for iPhone
- Ethernet vs WiFi: When Wired Actually Matters
- Internet Slow at Night: How to Prove It and What Causes It
Diagnose Your WiFi with PingKit
Speed tests, ping, LAN discovery, MTR, and 15 more tools to find and fix network problems. Free to download.
Download PingKit